Human Processing Unit Workshop #1
Human Processing Unit
Roel & Jonathan are currently doing a workshop at the graphic design department of Yale University School of Art.Drawing Instructions
During the first couple of days, we want you to develop instructions for an iterative drawing program.
Your material consists of A1 sheets of paper and 4 colored markers.
The program must be executable by 2 to 4 participants.
We would like to encourage you to develop your instructions by executing and revising as you go.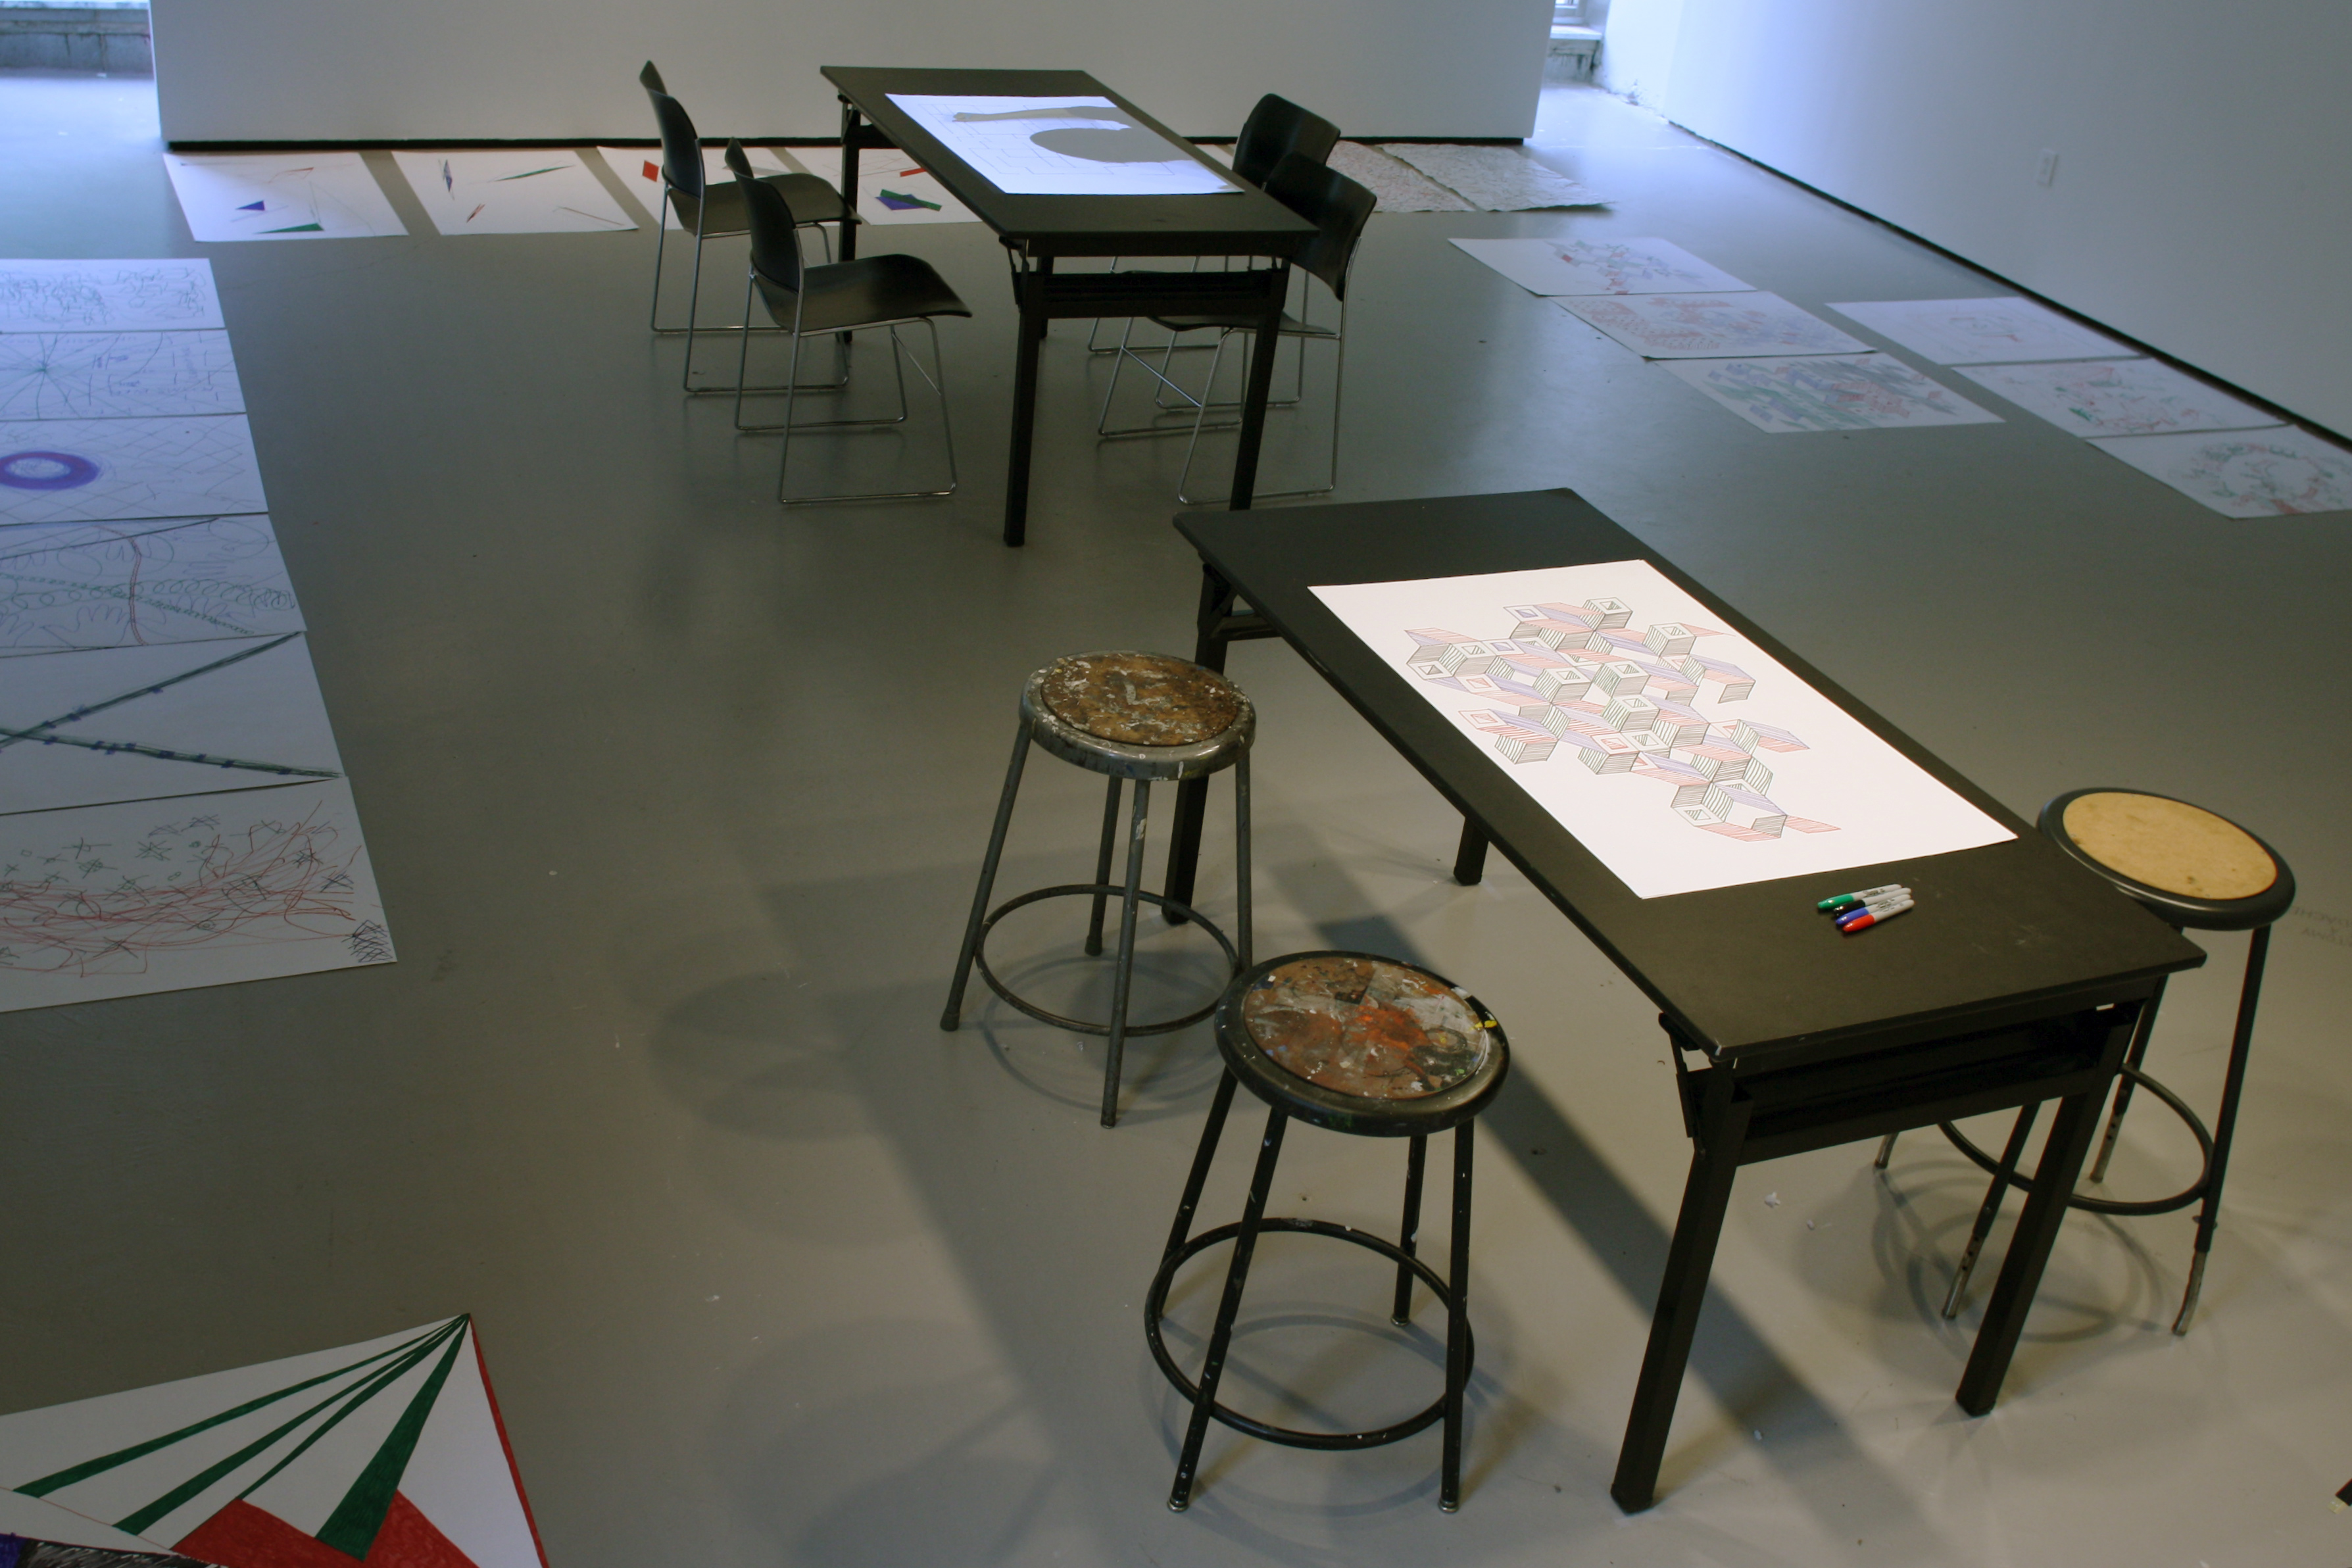
Trash by Kate & Luke
1. Crinkle up the paper until it is a ball
2. Unravel and spread out the paper. Tape it to the table.
3. The person with the red marker starts by drawing arbitrary lines along the folds of the paper. Time them for 2 minutes.
4. The person with the blue marker joins in and both the red and blue players draw arbitrary lines along the folds of the paper. Time them for 2 minutes.
5. The person with the green marker joins in and red, blue and green players draw arbitrary lines along the folds of the paper. Time them for 2 minutes.6. The person with the black marker joins in and all players draw arbitrary lines along the folds of the paper. Time them for 2 minutes.
7. Repeat step 6 until the entire page is almost full.
8. The person with the red marker leaves the board but the rest continue for two minutes.
9. The person with the blue marker leaves the board but the rest continue for two minutes.
10. The person with the green marker leaves and the black marker continues for two minutes.
1. Crinkle up the paper until it is a ball
2. Unravel and spread out the paper. Tape it to the table.
3. Start on the farthest left side of the paper and draw a vertical line, from bottom to top, that only follows the folds of the paper.3. Draws another parallel line, from bottom to top, that only follows the folds of the paper. This line should be as close as possible to the previous line without touching it.
4. Repeat step 4 until you can't draw any more lines and the page is filled.Please Be Patient by Lauren & Jay
Each of the four participants choose a color from the four markers provided. This color will remain your identity for the entirety of the transactions. While following the instructions below, keep in mind it is your duty to execute your responsibilities as precisely and meticulously as possible, with the goal to leave as little human evidence as possible through your hand work. Now, whoever has the largest hands please assume the role as “Participant 01” and continue.
===PARTICIPANT 01===
Please remain in your chair and with the hand you do not write with place it on the paper, palm down and fingers spread. Choose the next participant, Participant 02, for the next transaction.
===PARTICIPANT 02===
With the hand you do not write with place it on the paper, palm down and fingers spread creating a closed connection with the hand of the participant who initiated the transaction*. With your marker and with your other hand, trace (remember: meticulously!) the closed connection formed between both participant’s hands. Participant 01 now may lift his/her hand from the paper and return to his/her seat, while Participant 02’s hand remains exactly where the transaction took place, which is now outlined in marker. Participant 02 now chooses his/her next participant, Participant 03, for his/her next transaction.
===PARTICIPANT 03===
With the hand you do not write with, place it palm down and fingers spread on the paper creating a closed connection with the hand of the participant who initiated the transaction*. With your marker, and with your other hand, trace (remember: meticulously!) the closed connection formed between both participant’s hands. Participant 02 now may lift his/her hand from the paper and return to his/her seat, while Participant 03’s hand remains exactly where the transaction took place, which is now outlined in marker. Participant 03 now chooses his/her next participant, Participant 04, for his/her next transaction.
With the hand you do not write with, place it palm down and fingers spread on the paper creating a closed connection with the hand of the participant who initiated the transaction*. With your marker, and with your other hand, trace (remember: meticulously!) the closed connection formed between both participant’s hands. Participant 03 now may lift his/her hand from the paper and return to his/her seat, while Participant 04’s hand remains exactly where the transaction took place, which is now outlined. Participant 04 now chooses any of the other three participants to initiate the next transaction.
Repeat until paper cannot hold any additional forms, or while in the process of outlining a closed connection another outlined transaction is compromised.
Lastly, hang your magnificent composition on the wall and enjoy with a few cold beers.
*Note: a transaction cannot be made where the hand and wrist meet. Feel free to get out of your chair while strategically planning your transaction.Grid Row by Ely, Geoff & Vance
The game Grid Row is closely linked to the children's game "The Dot Game" where the objective is to complete squares by drawing lines on an established grid. This game, however, has one major deviation.
— In Grid Row, you begin with a blank sheet of paper and form a 10x10 grid as you take turns drawing lines.
— Each player is allowed to draw one line per turn—either vertical or horizontal—that connect two adjacent units in the grid. Its helpful to make dots at the start and end of your lines to make the grid connections more seamless.
— At the beginning of the game, while the dimensions of the grid are still being determined, line widths can vary; however, once a row or column width has been determined lines should be drawn to correspond to the grid as precisely as possible.— When a line is drawn to complete a rectangle, that player is allowed to take another turn.
— The game is finished when the last line in the 10x10 grid is drawn; the winner is the one who has drawn the most lines.Do You by Steven & Melissa
Naive Realism by Casper & Laura
Our attempt was to have participants draw a Necker cube, a simple line drawing of a platonic cube. The cube is not rooted in a particular perception and its planes continuously shift between the foreground and background. Without knowing what they were asked to draw, our participants were given instructions to draw a set of lines that would result, ideally, in a Necker cube. Four sets of drawings were made from four sets of instructions. The rhetoric of each set of instructions was adjusted following each execution.
1. Draw a line at least 5 inches in length
2. Draw a line that is the same length as the first line and parallel to the first line.
3. Draw a line that is the same length as the first line, parallel to the first two lines, such that it occupies a space between the first two lines and begins parallel to the midpoint of the line furthest to the left.
4. Draw a line that is the same length and parallel to the first three lines, such that it occupies a space between the second and third line, and begins parallel to the midpoint of the line furthest to the right.
5. Draw a line such that it connects two parallel lines on the left.
6. Draw a line beginning at an endpoint which has two lines extending from it and terminates at an endpoint on the line furthest to the right.
7. Draw a line such that it begins where the last endpoint was drawn to an endpoint on the line that is to the left of the previous line.
8. Draw a line. Each endpoint should begin at an endpoint where two lines extend from it.
9. Draw a line such that the line begins at an endpoint which only has one line extending from it, to another endpoint which has only one line extending from it on its immediate right.
10. Draw a line beginning at an endpoint which has two lines extending from it and ends at an endpoint on the line furthest to the right.
11. Draw a line such that the endpoint begins where the last endpoint ends, to an endpoint which only has one line extending from it.
12. Draw a line. Each endpoint should begin at a endpoint where two lines extend from it.
13. Fill in a plane.Condition 1:
All lines must be straight. (Use a ruler)
1. Draw a line at least 6 inches in length.
2. Draw a line that is the same length as the first line and parallel to the first line.
3. Select a point in space that is between the two lines you have drawn. This point should be perpendicular to the midpoint of these two lines. The point cannot be on either of the lines. Then draw a line from this point that is the same length as the first line, and is parallel to the first two lines.
4. Select a point in space that is between the two lines on the right. This point should be perpendicular to the midpoint of one of these two lines. The point cannot be on either of the lines. Then draw a line from this point that is the same length as the first line, and is parallel to the first three lines.
Condition 2:
All lines from here on must begin and end at an end point of a previously drawn line.
5. Draw a line such that it connects two parallel lines on the left.
6. Draw a line beginning at an endpoint which has two lines extending from it and terminates at an endpoint on the line furthest to the right.7. Beginning at the point where the last line ended, draw a line connecting this end point to an endpoint on the line to the left.
8. Draw a line connecting two end points, which each have two lines extending from them.
9. Find the end point on the line furthest to the left. Choose the end point which only has one line extending from it. Now locate and end point on the line directly to the right of this line that only has one line extending from it. Connect these two points.
10. Find the point where the last line you drew ended. Now locate and end point on the line furthest to the right of this line that only has one line extending from it. Connect these two points.
11. Find the point where the last line you drew ended. Now locate the end point of the line which only has one line extending from it. Connect these two points.
12. Find an end point which has only two lines extending from it. Now find another. Connect these two points.
13. Pass your marker to the person on your right.
14. Find a parallelogram.
15. Fill it in.Condition 1:
All lines must be straight. (Use a ruler)
1. Draw a line at least 6 inches in length.
Condition 2:
Define a right and left, parallel to the line. Define a top and bottom.
2. Draw a line that is the same length as the first line and parallel to the first line. This line should be at least 6 inches away from the first line.
3. Draw a line that is the same length as the first two lines and parallel to the first two lines. This line should begin at any point between the first two lines. This line should end below the first two lines.
4. Draw a line that is the same length as the first two lines and parallel to the first two lines. This line should begin at any point between the second two lines. (These are the two lines on the right). This line should end above all of the lines.
Condition 3:
All lines from here on must begin and end at an end point of a previously drawn line.
6. Find the lowest point (the point closest to the bottom). Find the bottom point on the line furthest to the right. Connect these two points.
7. Find the bottom point on the line furthest to the right. Find the bottom point which only has one line extending from it. Connect these two points.
8. Find two end points which each have two lines extending from them. Connect these two points.
9. Find the top end point on the line furthest to the left. Now find the top endpoint of the line immediately to its right. Connect these two points.
10. Find the lower point of the line you just drew. Now find the top end point of the line directly to its left. Connect these two points.
11. Find the top end point of the line furthest to the right. Now find the top end point of the line where the last line you drew ended. Now locate the end point of the line which only has one line extending from it. Connect these two points.
12. Find an end point that has only two lines extending from it. Now find another. Connect these two points.
14. Find a parallelogram.
15. Fill it in.Condition 1:
All lines must be straight. (Use a ruler). Please do not draw on the edge of the paper.
1. Draw a line at least 6 inches in length.
Condition 2:
Define a right and left that is parallel to the line. Define a top and bottom relative to its end points.
2. Draw a line that is the same length as the first line and parallel to the first line. This line should be at least 6 inches away from the first line.
3. Draw a line that is the same length as the first two lines and parallel to the first two lines. This line should begin at any point between the first two lines. This line should end below the first two lines.
4. Draw a line that is the same length as the first two lines and parallel to the first two lines. This line should begin at any point between the second two lines. (These are the two lines on the right). This line should end above all of the lines.
Condition 3:
All lines from here on must begin and end at an end point of a previously drawn line.
6. Find the lowest point (the point closest to the bottom). Find the bottom point on the line furthest to the right. Connect these two points.
7. Find the bottom point on the line furthest to the right. Find the bottom point which only has one line extending from it. Connect these two points.
8. Find two end points which each have two lines extending from them. Connect these two points.
9. Find the top end point on the line furthest to the left. Now find the top endpoint of the line immediately to its right. Connect these two points.
10. Find the lower end point of the line you just drew. Now find the top end point of the line furthest to the right. Connect these two points.
11. Find the top end point of the line furthest to the right. Now find the top end point of the line that only has one line extending from it. Connect these two points.
12. Find an end point that has only two lines extending from it. Now find another. Connect these two points.
14. Find a parallelogram.
15. Fill it in.Associative Flip Flop by Daniel & Ke
Setup:
Two participants, each with his own colored marker.Instructions:
Participant #1: draw something, an object, a person, a place, anything that comes to mind.
Participant #2: draw something, an object, a person, a place, anything that comes to mind that flips the meaning, or changes our perception of Participant #1's drawing.
Participant #1: draw something, an object, a person, a place, anything that comes to mind that flips the meaning, or changes our perception of Participant #2's drawing.
Repeat until you fill the page. Your visual strategy should be to link all the drawings together in a seamless chain.Telephone Hands by Kate & Luke
1. Each player holds the pen in their left hand and in the other hand holds the player's wrist to his/her right side.
2. Everyone but Player 1 has their eyes closed. Player 1, draws a shape using the person's hand to his/her right side.
3. The person right of Player 1 tries to mimic what he/she felt (with eyes closed) by drawing that shape with the person's hand to his/her right.4. This causes a chain reaction with each player until the shape is mimicked around the table and it gets back to Player 1's left hand.
5. Now it is Player 2's chance to open his/her eyes and start the chain reaction. Everyone else's eyes are closed.
6. The drawing is finished when each player has had the opportunity to lead a chain reaction.Illogical Logic by Yujune & Nazima
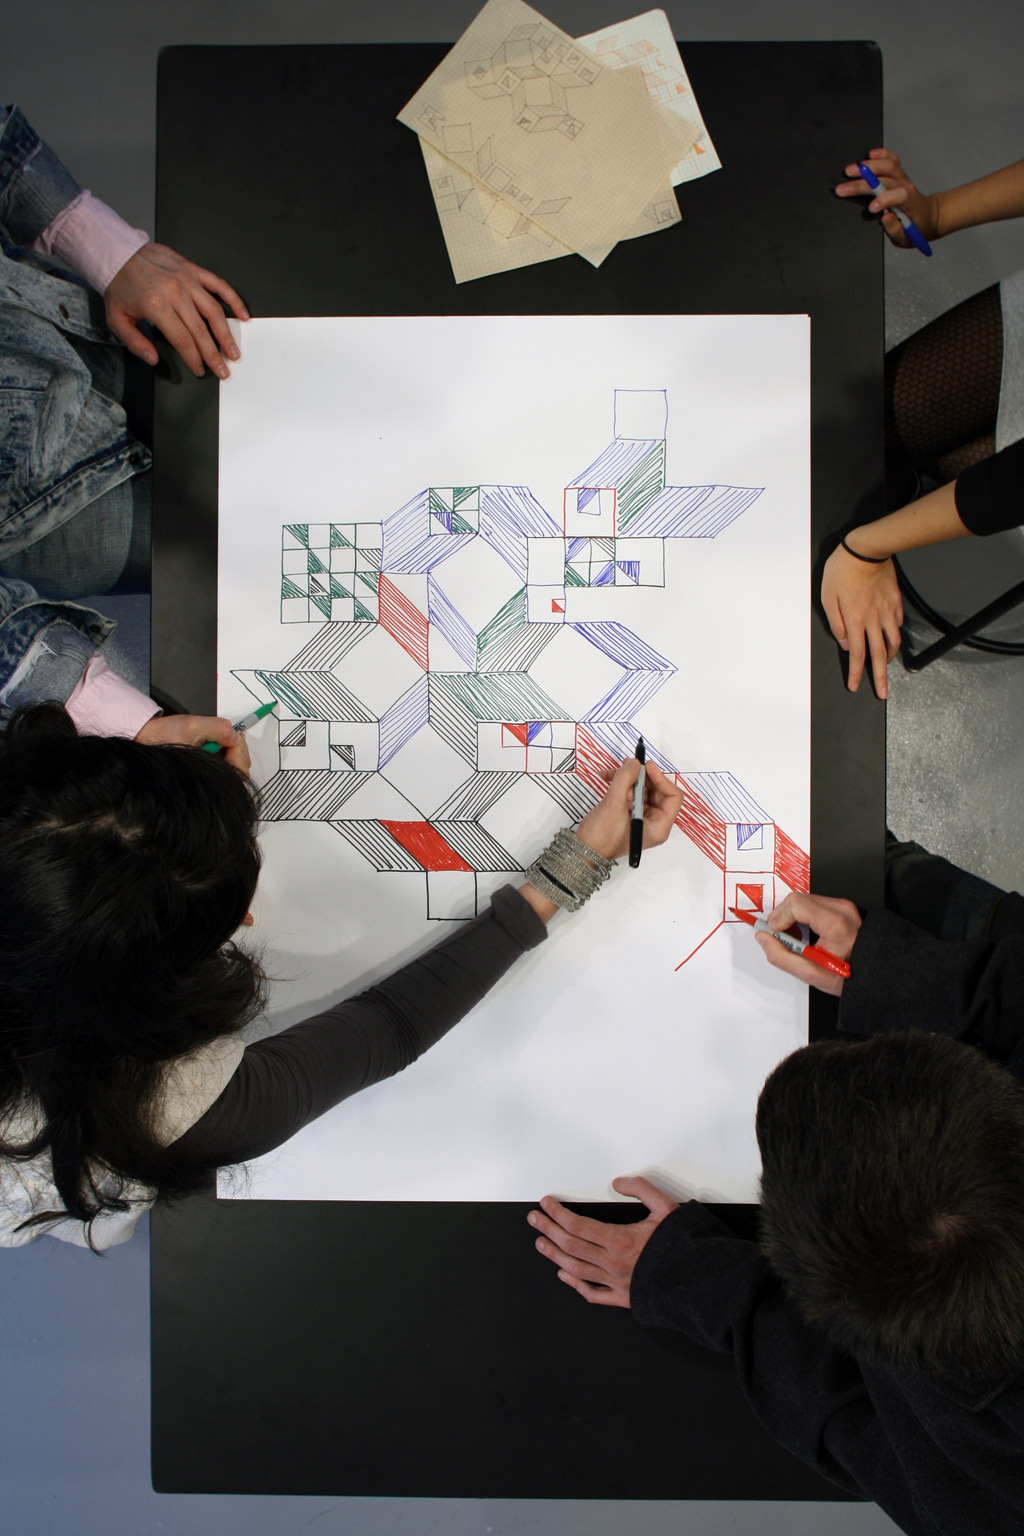
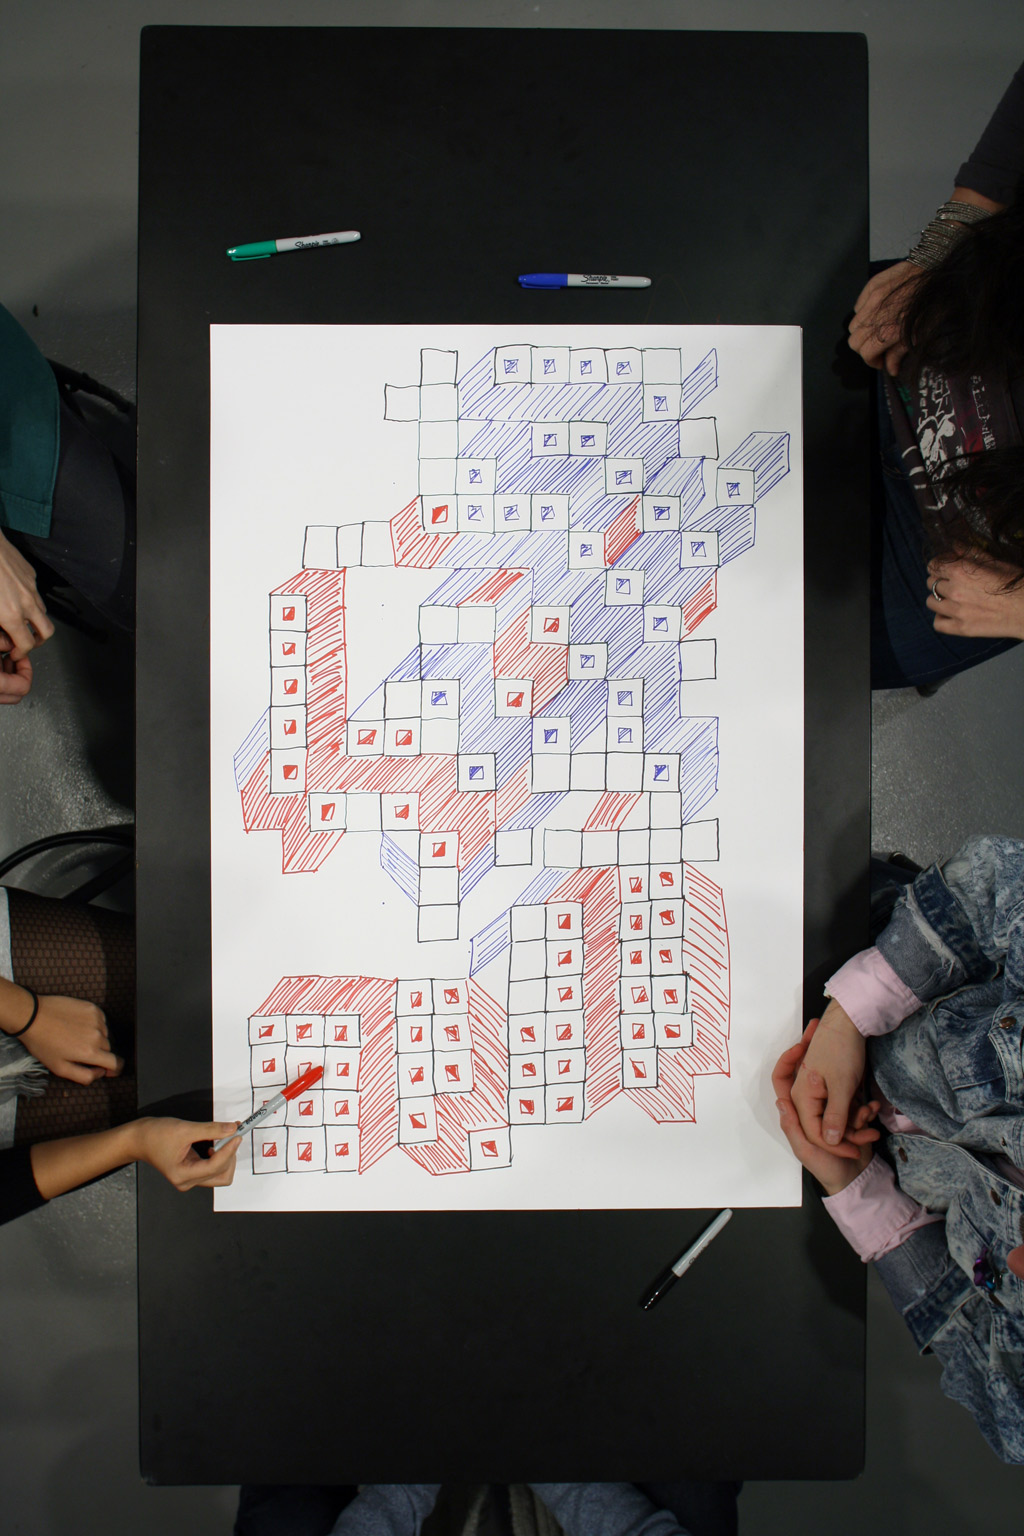
1. Everyone is assigned an oblique shape (dimensions 4x4)
2. You can only draw the shape in its assigned direction and color.
3. One side of a new shape must always touch the side of a preexisting shape.
4. Two shapes of the same color can not touch.
5. When two obliques meet to form the sides of a cube, a square of 4x4 maybe be drawn to complete the cube.6. Once the cube is completed a 2x2 square can be made in the centre of the 4x4 square.
7. Draw a diagonal inside the small square and shade one half parallel to the diagonal of the small cube.
8. Rotate turns.
9. If two shapes overlap, the second shape must go under the preexisting shape. The lines of two shapes cannot overlap.